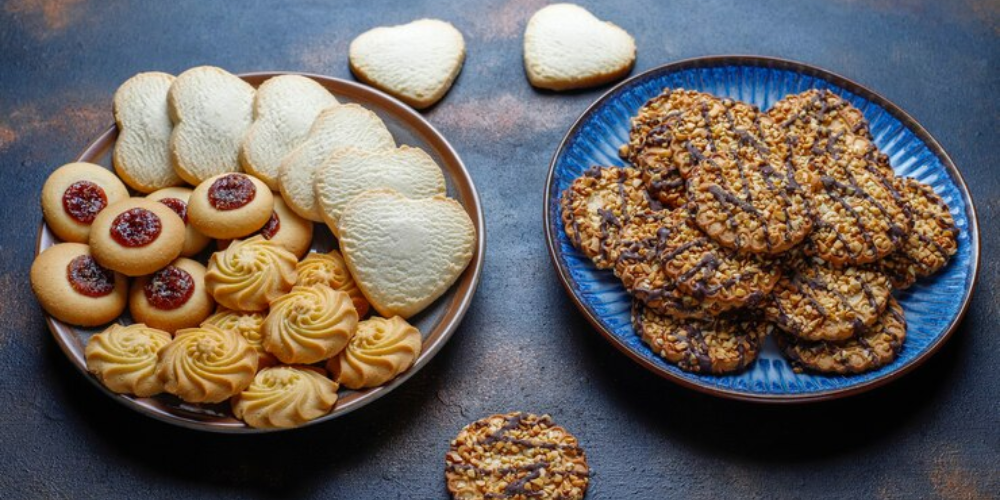
"Fake cakes" have become a delightful craft for creating decorative pieces that mimic the appearance of real cakes. Whether for styling photoshoots, gifting, or adding a whimsical touch to events, these charming creations allow you to experiment with designs, colors, and textures without the hassle of baking.
This guide will take you through every step, from crafting the base to applying detailed piping, ensuring your fake cakes look professional and impressive.
Why Make Fake Cakes?
Fake cakes offer endless possibilities for creative expression. They are not only visually stunning but also durable, making them ideal for long-lasting decorations. From vintage-inspired piping to bold, modern designs, they work well for events, as unique gifts, or simply as a fun artistic project. Their versatility makes them perfect for anyone looking to explore their creative side while saving time and money compared to working with real cakes.
Ingredients You'll Need
To make fake cakes, you’ll need a few basic materials, many of which are affordable and easy to find. These include lightweight spackling, cardboard or Styrofoam for the cake base, acrylic paint for coloring, a piping kit, piping bags, and decorative elements like fake cherries or beads. A putty knife will help you spread the “frosting,” and a plastic container will be useful for mixing colors. If you’re making a mini cake, a 4-inch base works perfectly, but feel free to adjust the size based on your preferences.
Step 1 - Crafting the Cake Base
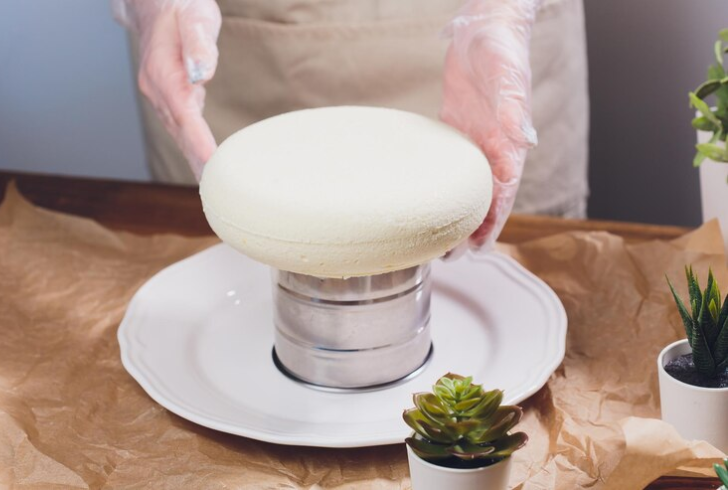
Instagram | vershinin89 | Start with a strong base for your fake cake.
The foundation of your fake cake is crucial for achieving the right look. You can either purchase a pre-made Styrofoam cake form or create your own using cardboard. For the latter, trace your desired cake shape onto the cardboard, such as a 4-inch circle for mini cakes. Cut out the base and prepare strips of cardboard for the sides, cutting them to your desired cake height.
Bend the strips against the grain to give them flexibility, then mold them around the circular base. Secure the edges with tape or glue, ensuring the sides hold their shape. Styrofoam is a simpler alternative for beginners, as it requires no additional shaping.
Step 2 - Mixing the Colors for Your "Frosting"
Once the base is ready, it’s time to prepare the frosting. Spackling straight from the tub works well for white cakes, but for colorful designs, mix the spackling with acrylic paint. Start with a small amount of paint and adjust until you achieve the desired pastel or bold tone. Keep in mind that more paint can thin the spackling, which may impact the precision of your piping.
Use a plastic container for mixing, and experiment with small batches before committing to a final color. Softer shades tend to work best, especially for vintage-style designs or light, whimsical aesthetics.
Step 3 - Applying the Base Layer
Begin frosting your fake cake by using a putty knife to spread the spackling evenly across the surface and sides. You can experiment with vertical or horizontal strokes, depending on the texture you want. It’s okay if the layer isn’t perfectly smooth—imperfections add to the realistic appearance of a homemade cake.
Let the base layer dry for about 24 hours. This drying time is important, as it prevents smudging or uneven surfaces when you move on to piping the decorations.
Step 4 - Piping the Decorations
Piping the decorative elements is often the most enjoyable part of making fake cakes. Use your piping kit and tips to create designs like shells, rosettes, stars, or dots.
To pipe shells, start by pressing the piping bag down and making a small loop with a smooth release. Stars are easier—simply press down and lift for clean, crisp shapes. For dots, use a round tip, and pat down any peaks with a cornstarch-dipped finger for a polished finish.
Rosettes require a star tip and a bit more practice. Begin in the center, create a swirl outward, and bring the tip back to the middle to complete the design. Don’t hesitate to experiment with other shapes or patterns until you find a style you love.
While piping, you can add decorative elements like fake cherries, beads, or flowers to complete the design. These accents not only enhance the look but also add depth and personality to your fake cake.
Step 5 - Finishing Touches and Drying
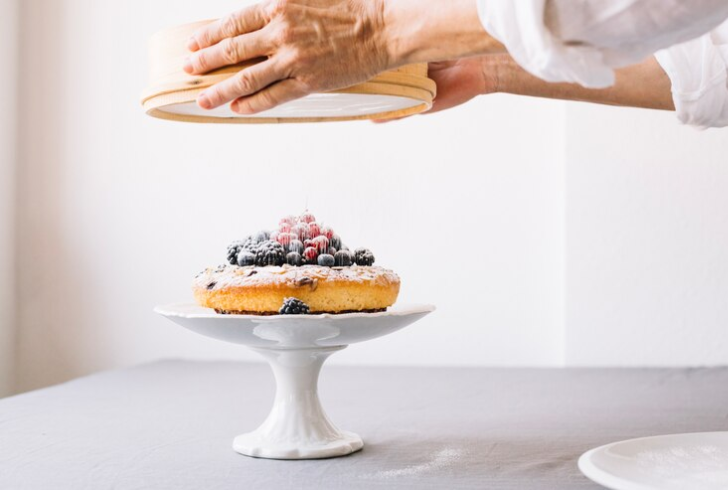
Image by freepik | Add finishing touches to your fake cake.
Once you’re satisfied with the design, let the cake dry for another 24 hours. At this stage, the spackling will be firm, but handle it carefully to avoid damaging the decorations. To add a professional touch, glue a cardstock base to the bottom of the cake.
For an extra pop of creativity, consider attaching small flags or messages, such as “Happy Birthday” or “Happy Valentine’s Day,” to skewers and inserting them into the cake. These details add charm and height to the final product.
Pro Tips for Making Stunning Fake Cakes
To ensure success with your fake cakes, keep the following tips in mind:
1. Start Simple: If you’re a beginner, stick to basic piping designs like stars and dots before moving on to more intricate patterns.
2. Mix Colors Carefully: Always test a small amount of spackling and paint first to avoid wasting materials or creating unintended colors.
3. Store Safely: Keep finished cakes in a dry, cool space to prevent damage and preserve their appearance.
With practice, you’ll gain confidence and develop your own unique style, making each cake even more beautiful than the last.
Why Fake Cakes Are Perfect for Creative Projects
Fake cakes are more than just decorative items—they’re a form of creative expression. Whether you’re decorating for an event, styling a photoshoot, or crafting a unique gift, these cakes offer endless possibilities to experiment with colors and designs. Unlike real cakes, they’re durable and reusable, allowing you to create something that lasts for years.
Crafting fake cakes is also a rewarding activity for anyone looking to try their hand at artistic projects. From beginners to seasoned crafters, this process offers a fun and practical way to explore new skills while creating something truly unique.

